Hello everybody, it is Brad, welcome to our recipe site. Today, we’re going to prepare a special dish, mulberry jam. One of my favorites food recipes. For mine, I’m gonna make it a little bit unique. This will be really delicious.
Find Deals on Mulberry Preserves in Jams & Spreads on Amazon. Oh oh oh Mulberry jam is possibly the most delicious jam in the entire world, thanks for the lovely memories. My mum used to make a delectable moist chocolate cake with mulberry jam in the middle, those flavours choco and mulberry are made in heaven like chocolate and apricot jam or orange.
Mulberry Jam is one of the most popular of recent trending foods on earth. It is enjoyed by millions every day. It’s simple, it’s fast, it tastes yummy. Mulberry Jam is something which I have loved my whole life. They’re nice and they look wonderful.
To get started with this particular recipe, we must first prepare a few components. You can have mulberry jam using 3 ingredients and 18 steps. Here is how you can achieve it.
The ingredients needed to make Mulberry Jam:
- Prepare 2 kg Mulberries
- Make ready 60 percent of the edible portion's weight Granulated sugar
- Prepare 2 lemons' worth Lemon juice
Mulberries are widespread in southern Europe, the Middle East, and India. And making jams out of mulberries is one of the most common uses for them around the world. Both varieties that we have (red and white) are sweet, with only subtle flavor differences, the white version being slightly sweeter in our experiences. These are the easiest directions on the web!
Instructions to make Mulberry Jam:
- Change into clothing that you don't mind getting stained. Mulberry juice spatters everywhere during this process, and is very hard to remove.
- Rinse the mulberries. There will be ants and other unrecognizable critters, so rinse well and drain in a colander.
- Weigh the pot in which you will be boiling the berries.
- Prepare a pair of disposable rubber gloves (I recommend surgical gloves, or other tight fitting ones), and a trash can lined with a plastic bag.
- To remove the stems from each mulberry, hold the stem with one hand…
- …and gently massage the berries with the other hand while separating them from the stem.
- Strip them off the stem.
- This is the remaining stem. They give the jam a poor texture if not removed.
- Here are the de-stemmed berries. This amount took me 1 hour to de-stem.
- Place the stem-free mulberries in a pot, then weigh the pot to record the weight of the berries (mine yielded 1,540 g).
- Calculate 60% of that weight and that is the amount of sugar to add (I used 924 g of sugar).
- Let it sit for a while until the sugar blends into the mulberries (since the berries are de-stemmed, this does not take long).
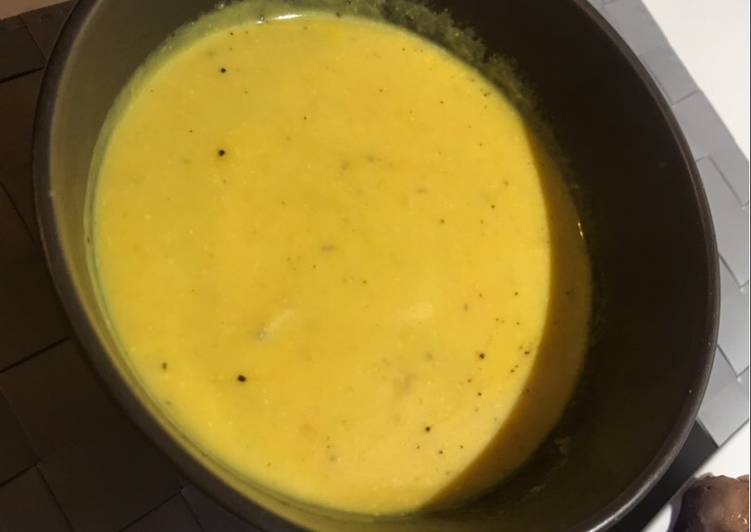
- Bring the pot to a boil, then reduce to medium heat. Simmer while skimming off the scum.
- While simmering, boil the jars and lids in water in a separate pot to sterilize.(Be sure to have the jars in the pot before starting to heat the water, because otherwise they will crack.
- Dry the jars and lids on top of a paper towel.
- Squeeze out 2 lemons' worth of juice (I yielded 75 ml).
- Once the jam starts to thicken, add the lemon juice, bring to a boil, then remove from heat.
- Put your gloves back on, transfer the jam to the jars while hot, then tightly seal the lids.
The directions work for strawberry, blackberry, boysenberry, loganberry, raspberry, bluebbery and mixed berry jam. Anyone can make jam after reading this web page! This is my first time making mulberry jam so was excited to find such an easy recipe. Will need to figure that one out. In this post, I am going to show you how to make mulberry jam.
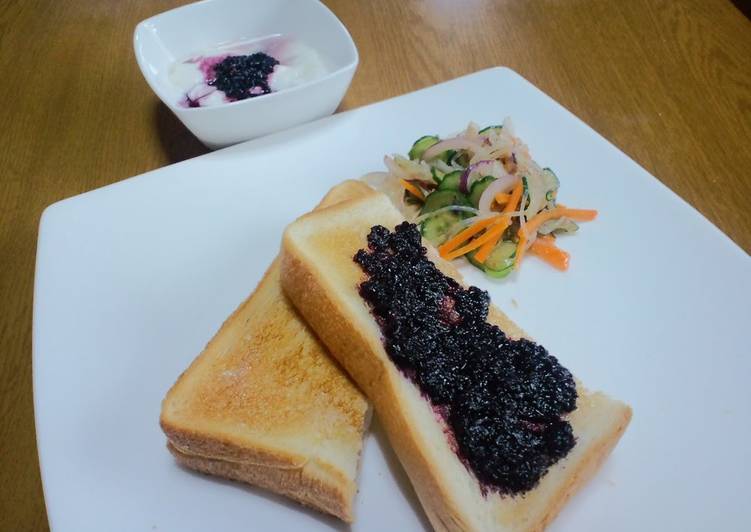
So that is going to wrap it up with this exceptional food mulberry jam recipe. Thanks so much for your time. I am confident that you can make this at home. There is gonna be more interesting food in home recipes coming up. Don’t forget to save this page on your browser, and share it to your family, colleague and friends. Thanks again for reading. Go on get cooking!